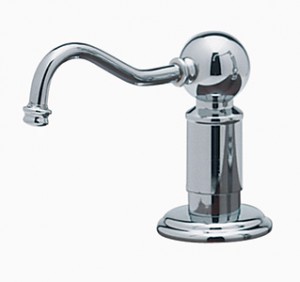
We’ve all seen it. That sticky mess in our soap dish left by bar soap. Or the little drops of goo that collect under a hand-pump. Well, to eliminate these unsightly messes, and to add a bit of flair to your new bathroom design, consider a wall-mounted soap dispenser. They’ll also save on counter-space in small bathrooms, and the no-drip nozzle will keep your bathroom clean.
Here is a basic overview on installing one of these fashionable additions:
- Determine how you will mount the soap dispenser: For lightweight dispensers, you can use commercial grade adhesive. But, for more permanent and stable dispensers, you will install using the hardware included in your soap dispenser unit.
- To install with adhesive: Clean the area where you will stick the unit thoroughly. Be sure it is dry. Then, apply the adhesive to the back of the unit and place against the wall. Depending on the type of adhesive you use, you may have to hold the mount in place anywhere from 10 seconds to 2 minutes. Be patient. Then, do not set the soap dispenser itself into the mount for 24 to 48 hours.
- To install with hardware: Find a stud using a stud finder. Next, hold the mount against the wall where a stud is located. Then, using a pencil or dry erase marker, make small marks in the holes where you will drill and set the mount aside.
- Drill: Using a drill bit slightly smaller than the screw, drill holes into the wall where you marked. If you are drilling into drywall, insert plastic spacers to allow for expansion and a tighter hold.
- Place the mount: Put the mount against the wall, and drill the screws in place. Do not overtighten, as you may strip the plastic spacers, or damage the unit.
- Set the soap dispenser: Now, put the soap dispenser into the mount. Fill with soap and let the cleaning begin!


